Creating a Secure Blog with Jekyll
I Wanted a Blog
There are a lot of reasons you might want to create a blog. I wanted a way to share my ideas with others and sometimes I communicate more effectively in writing (and pictures) than speaking out loud. I also thought I could use it as a personal knowledge base to document past work on some of my projects. The inspiration came in part from a great KringleCon talk by Jack Rhysider, whose podcast (Darknet Diaries) I enjoy quite a lot. It seemed appropriate that my first post should be about creating this blog.
I Wanted Security
In the past I have used several wiki or other website packages to host KBs and other content via a cpanel-based hosting provider. My work style tends to involve putting a bunch of effort into a project, then moving on to something else, and sometimes returning to it. In my previous efforts, I didn’t do a good job of updating those software packages regularly, which inevitably lead to some form of hijacking. This time I wanted to use a framework that would allow dynamic content editing but “pre-compile” all the content so a static site would be served in the end. That is to say, the website would not contain any functionality to make edits to itself. Additionally, I wanted a cheap way to host the site reliably.
My Solution: GitHub Pages + Jekyll
One of the first options that caught my attention was GitHub Pages. It’s great because it’s free, super reliable, and it allows you to create content in Markdown and manage it as a git repository of text files. GitHub advertises the static site generator Jekyll as an easy way to create a beautiful blog using GH Pages.
A Confounding Number of Options
Every source I came across asserted that using GH Pages with Jekyll was an extremely easy way to start a blog, and each one recommended a totally different way of doing this. It threw me off because it felt like most of these sources must be wrong since they seemed to offer conflicting information. The truth is, there are so many ways to use GH Pages and Jekyll together that it is almost impossible to make it not work. The most confusing part was figuring out which method was right for me. I’m going to outline two different approaches in this post that are very different from each other. Hopefully it will provide a foundation even for those whose method of choice is somewhere in the middle.
Essential Reading
There are a few resources that most of the content of this post are drawn from. You will probably need to read at least one of them if you want to customize your blog over time. I try to breeze over material that these documents cover well. They are not prerequisites but you may want to refer to them while working through the methods I outline, or afterwards.
- The GitHub Pages documentation for Jekyll (which I think is more helpful that the Jekyll documentation)
- The Jekyll documentation
- GitHub Pages documentation
A Few Fun Facts
- Jekyll is a program written in Ruby that will compile your Markdown blog posts into a template-based site (they’re called “themes”).
- You can edit the theme.
- You can use other people’s themes.
- GH Pages will serve whatever content is in the “publishing source” of the repo (Markdown, HTML, etc).
- The “publishing source” can be a folder (including
/) or a branch (it is configured in the GH Pages settings panel for the repo). - GitHub will compile your Jekyll site for you if you commit the source files.
- Only paid accounts are allowed to use GH Pages with a private repo.
- GitHub allows you to edit and commit text files in your repos online.
A Few Important Implications
- If you don’t want people reading the source files for your Jekyll site, you either need to upgrade to a paid GitHub account, or you need to commit only the compiled site files.
- If you fork someone else’s Jekyll site or template, it becomes your Jekyll site.
- In the simplest case, you can create and manage your entire blog through GitHub, with no code or content on your personal device (i.e. you could do the whole thing with a Chromebook or tablet).
The Simplest Case
With almost no effort or finesse, you can create a Jekyll blog by forking a template and adding and editing content on GitHub. There are a few reasons I don’t like this method, but I think it would work fine for a lot of people. Especially if you are a paying GitHub customer and are allowed to use GH Pages within a private repo. In this case you can store all your source files in the repo without making them publicly available and your site will still be served properly.
The default Jekyll theme is called Minima. Since the most recent version is in the main branch of their GitHub repo, you can fork that to use as the basis for your blog.
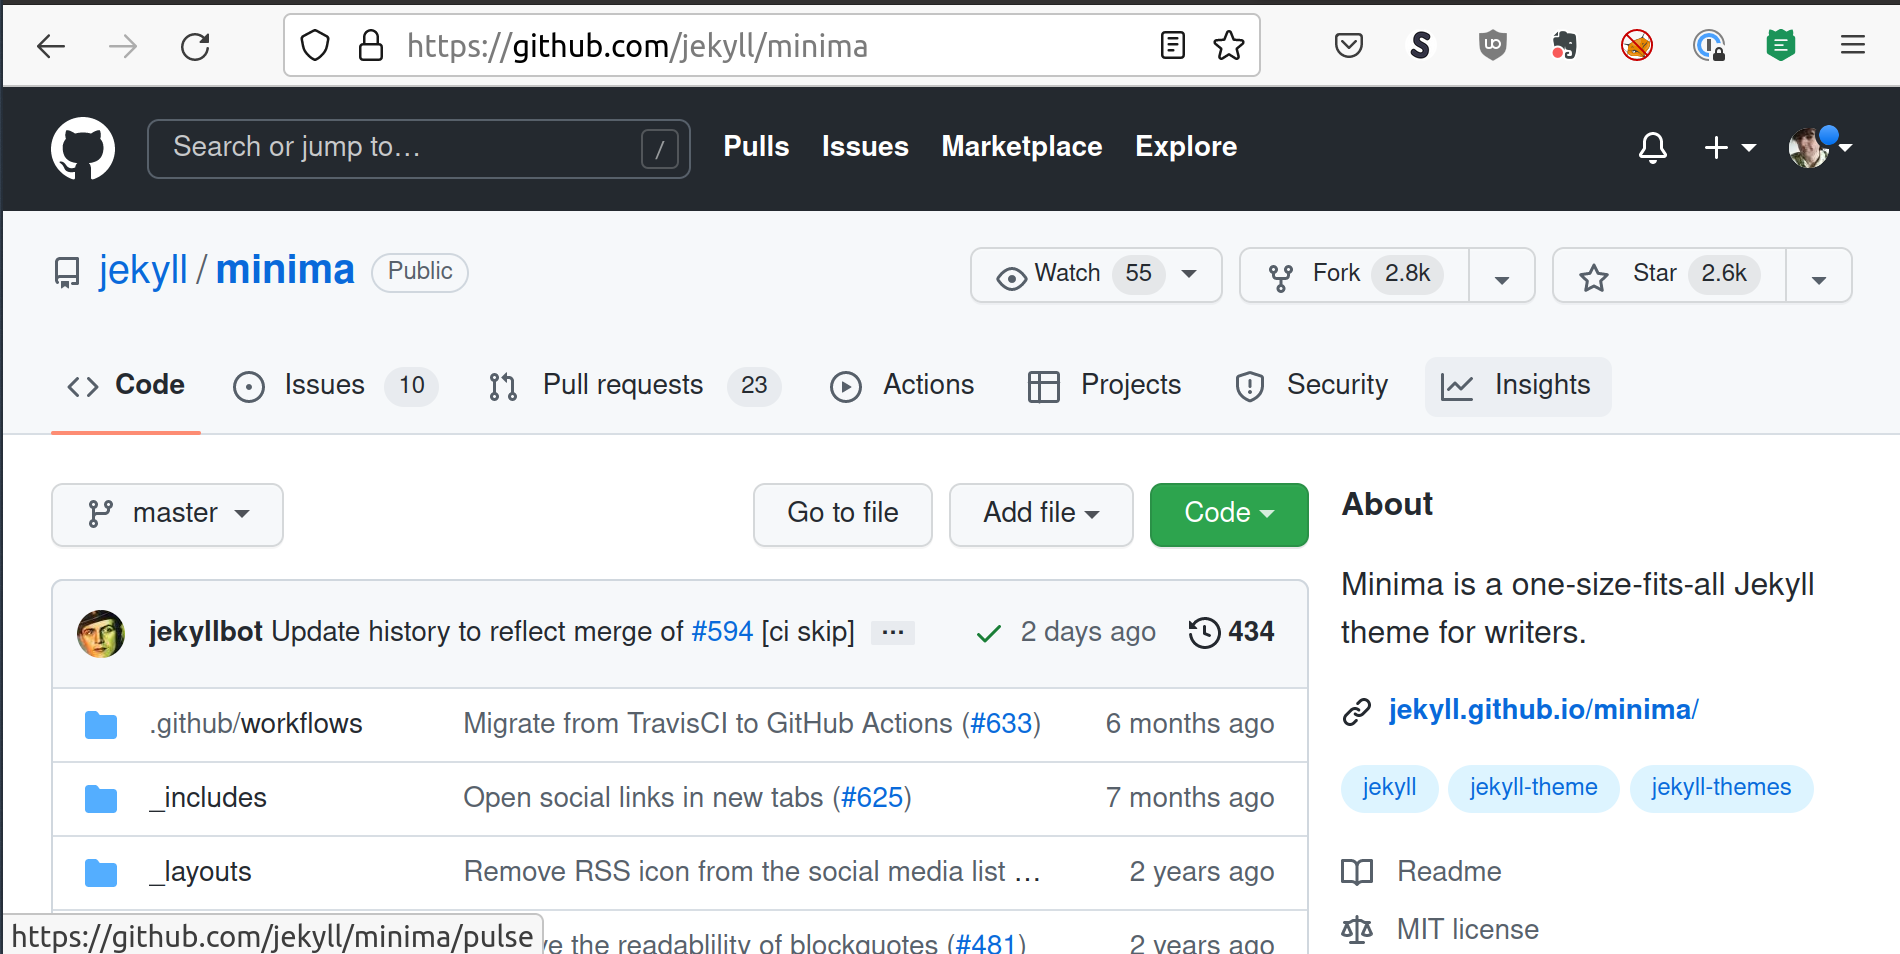
- Fork Minima and name the repo username.github.io where “username” is replaced by your GitHub username.
- In the settings for your new repo, navigate to the “Pages” tab.
- Under “Source” select the master branch and the root directory.
- Click “Save”.
- After about a minute you should be able to navigate to https://username.github.io/ and you will see the barenones Minima template content.
- The
README.mdfile contains instructions for installation (which this method circumvents) and customization (most of which involves editing the_config.ymlfile). - You will want to clear out or repurpose the post files in the
_postsfolder. Each post must be named with the publish date in YYYY-MM-DD format and a hyphenated title. - Navigate to the
_postsdirectory and open2016-05-19-super-short-article.mdas an example. - Click the pencil icon to edit and modify the contents.
- Commit the changes and wait another minute before refreshing https://username.github.io. You will see the changed article in the table of contents.
- There is likely a lot of other content you would want to clear out or customize in the repo as well, but as you can see, it doesn’t show up in the site. One thing I don’t like about this method is that it feels very messy with extraneous files intended for template development (such as the README.md) that you just don’t need. The only files included in the Jekyll skeleton are:
404.htmlabout.markdown_config.ymlGemfileindex.markdown_posts
- Edit
about.markdownto say something about you and your blog. - Editing the
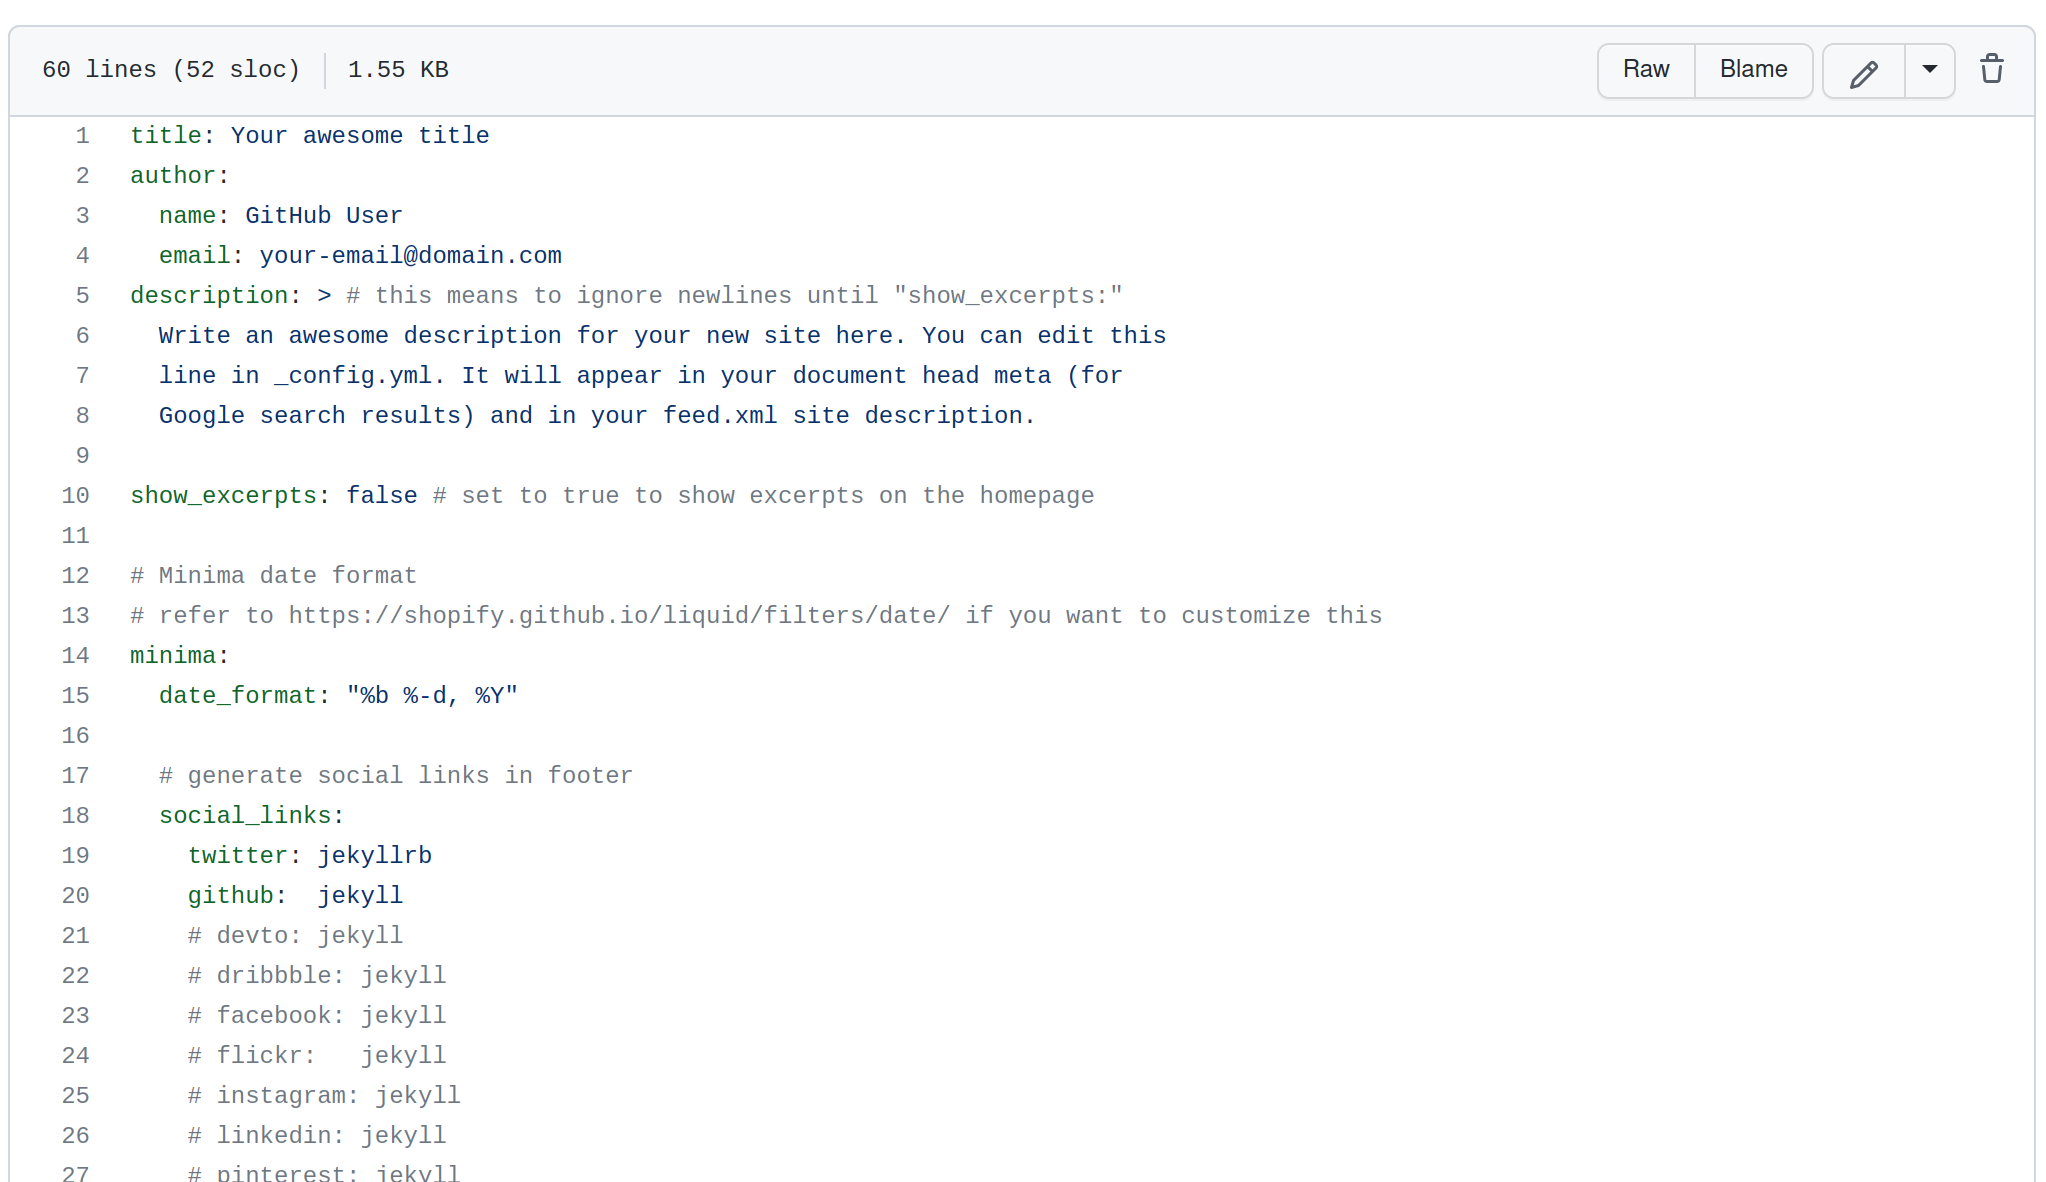
_config.ymlfile allows customization of title, description, social media links, color theme, and many other aspects of your site. It is well commented and documented. Try changing the “title: “ and then view the changes.
That is basically it. It’s a messy method, but you can have a decent minimalistic blog in about 10 minutes. There are many themes available for Jekyll that may work better or worse using this method. And of course, you can take steps to clean up the mess as you feel like it.
The More Nuanced Case
The method I prefer involves maintaining two repos, one public and one private. The private repo contains the source files and the public repo is used for the compiled site. Jekyll is run locally to compile the site and the output is pushed to the public repo. One advantage to this method is that it could be used with any hosting provider, while the previous method only works with GH Pages. Another advantage is that it prevents the source files from being available publicly.
Getting Set Up
- If you are not a regular git user, you will need to install and configure git, and create a GitHub account. GitHub has a good getting started page that should help.
- Install Ruby and Jekyll by following the OS-specific instructions provided in the Jekyll documentation.
- Create a private repo in GitHub to store the source files (call it whatever you want, I will refer to it as “blogdev”).
- Create a public repo named username.github.io where “username” is replaced by your GitHub username.
- Note: You will not be able to enable Pages until you have committed some files.
Creating a Site
The os-specific instructions here will be useful if you can’t use the Linux commands I give below, but I would skip everything before step #7 under “creating your site”.
- Clone the empty, private blogdev repo to an appropriate place on your computer.
git clone git@github.com:username/blogdev.git
- Move into the folder and initialize a new Jekyll site.
cd blogdevjekyll new --skip-bundle .
- Find the latest supported version of the github-pages gem here (227 at time of writing).
- Edit the
Gemfileto comment out the linegem "jekyll"and add a line below itgem "github-pages", "~> GITHUB-PAGES-VERSION", group: :jekyll_pluginswhere “GITHUB-PAGES-VERSION” is replaced with the version number from above. - Save the file and then run Bundler to install Ruby dependencies.
bundle install
- Test site locally.
bundle exec jekyll serve- Navigating to the local site (probably http://127.0.0.1:4000/) should display a generic Jekyll site.
- Commit and push the generic site to GitHub.
git add -Agit commit -m "Initial Jekyll site source files"git branch -M mastergit push origin master
Customizing a Site
If you are using a theme (such as the included Minima theme) most of the customization will be done by editing the _config.yml file and creating new posts in the _posts folder.
Themes are somewhat confusing in terms of implementation.
They are intended to live outside of the source files for your site, and the content of the theme is included in the site during compilation.
To override any theme-specific setting, you have to copy the appropriate file from the theme location into your site source files and modify it (Jekyll prioritizes the copy during compilation).
Themes can be downloaded locally or referenced via GitHub repo.
They can be made available as Ruby gems using Bundler, via git, or other methods.
Most templates contain instructions explaining various customization options.
Here, I update to the latest version of the Minima theme by referencing the GitHub repo.
I could use the same repo via the remote_theme option, but I prefer to have the theme files downloaded and updated when I choose.
- Edit
Gemfile, comment out#gem "minima", "~> 2.5"and add a linegem "minima", github: "jekyll/minima" - Save the file and run
bundle updateto download the updated theme. - The theme will be downloaded somewhere in your userspace which you can determine using
bundle info --path minima - Overwrite your
_config.ymlwith the new Minima default withcp `bundle info --path minima`/_config.yml ./ - Edit
_config.ymlaccording to your best judgement (it’s well commented). The README included with the theme explains most of the settings.- Note that the setting to enable skins is not included by default.
- You can run
bundle exec jekyll serveagain to see how it looks. - Edit
about.markdownto say something about you and your blog. - If you use this procedure with a different theme, the README may list other default content you should edit.
- Then push another commit of your customized source files.
git add -Agit commit -m "Updated Minima theme and customized config"git push origin master
Creating a Post
Posts should be created in the _posts folder.
Each post should be a Markdown file with a filename like “YYYY-MM-DD-title-of-post.markdown”.
When Jekyll compiles the site, it uses the date from the filename in a variety of ways related to the date of the post and location of the source files in the directory structure of the site.
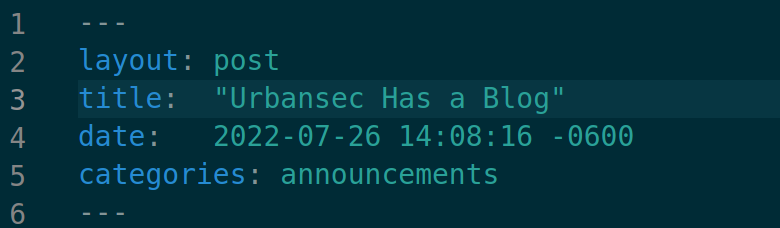
Each post should begin with a section of “front matter” which is a YAML block that defines metadata for the post such as layout, author, and category. Different themes use front matter in their own way, and usually contain sample posts to demonstrate their use. In particular, the layout options can vary quite a bit between themes.
The Jekyll documentation for posts and front matter is pretty extensive, so I would recommend reading that to understand the options available.
Your _posts folder should contain a sample created by Jekyll with the current date.
If you edit the filename and contents to create a test post, and then run bundle exec jekyll serve again, you should see the modified post appear.
You can duplicate that file and create additional posts and those will also show up when you compile the site.
Adding Images
If you’re making a blog, you will probably want to add images. The best way to do this is by creating a new directory to contain them inside the blogdev directory. From there you can create additional directory structure if you want. Each image can be linked from the post files by referencing the blogdev folder as the root of the file system.
- Create a directory to store images in.
mkdir assets(if it doesn’t already exist)mkdir assets/img
- Put an image file in the folder via copy / paste or however you want.
wget http://toastytech.com/evil/billagram2.gif -P ./assets/img/
- Add a reference to the image to one of your sample posts.
. Using a text editor that has a good Markdown preview mode makes it a lot easier. I use VSCodium, which is the open source version of Visual Studio Code. I also found the article How writers can get work done better with Git, by Seth Kenlon very helpful for the less technical aspects of blogging in Markdown.
There is a lot to know about GH Pages and Jekyll. You should definitely continue reading about how to use GH Pages and Jekyll beyond this article. Hopefully this article will help someone get started in less time than it took me.
If you found this helpful or have suggestions for improvements, hit me up on Twitter or via email and let me know. Thanks for reading!